Introduction
First of all, I want to be clear that this is not a paid post about Todoist or David Allen Company. I decided to write this post because I’m a GTD (Getting Things Done) aficionado, and I happen to use Todoist as the tool for my GTD system.
The idea of this post is to explain how to do an initial set-up for GTD in a Todoist free account. It is not a deep dive into GTD, and for that I recommend you to read the book or find some information online. A good starting point could be their webpage.
But either way, if you know nothing about GTD, don’t worry. I will give a brief explanation.
What is GTD?
GTD is the acronym for “Getting Things Done”, and it is a productivity methodology created by David Allen. The first principle of GTD is that the brain is for having ideas, not holding them. So based on that premise, you need a trustable, complex (yet simple enough to be easy maintenance) system where you can put those ideas and tasks to free your mind.
There are 5 steps in GTD:
- Capture: write all those ideas and tasks in an inbox, as a way to enter them into the system.
- Clarify: decide if those points are actionable (there are things to be done) and decide what’s the next action. If they are not actionable, put them in a reference system, defer them or trash them.
- Organize: put the next actions you got from the previous step in their places. To-do lists or a calendar, for example.
- Reflect: to keep the system up to date it is important to frequently review it.
- Engage: now that you have your system in place, it is time to Get Things Done.
Now that we know a little bit more about GTD. It is time to talk about Todoist.
What is Todoist?
Todoist is a multi-platform application developed by Doist. On their webpage you can find more information about Todoist, other apps they develop, and also their great blog, where they give pretty good pieces of advice about productivity and async work.
Todoist has three plans: Free, Pro, and Business. I have the Pro plan because it is only 48€ a year and plenty of difference from the Free plan. For more information about Todoist pricing, visit their portal.
But the point of this blog post is to set up GTD in a free account. For doing this, the only limitation we see that could give us problems is that we only can have 5 active Todoist projects (I make the distinction of a “Todoist” project because we will separate it from a “GTD” project). But we could work with that!
Using GTD with a Todoist Free account
There are more limitations than only the 5 active Todoist projects, but I don’t find the other ones too relevant for starting with GTD. If you already have a lot of experience with GTD, maybe you will find it too limiting and you may need the Pro account. Take that into consideration if that’s the case.
Before starting the explanation, let’s talk about the word “project”. For GTD, that’s any objective that is going to need more than one task to be completed. “Even two tasks?” Yes, even two tasks. And for Todoist, it is just a way of organizing tasks inside. We could do a one-to-one match between Todoist projects and GTD ones, but that would make us work only on 5 projects at the same time, which maybe is not a very bad idea, but it is too idealistic.
So we are going to make use of two other things that Todoist gives us for free: sub-tasks and labels. Let’s start by creating the projects.
What Todoist Projects to create
So we only can create 5 Todoist projects. Those are:
- Projects: what is this? A project named “projects”? Is this some kind of witchcraft? No. In this Todoist project, we are going to create all of our GTD projects as tasks, and the tasks for those projects as sub-tasks. And let me tell you that I use the Pro account and still do this because I find it a lot more comfortable than using the Todoist projects as GTD projects.
- Next Actions: in this Todoist project we are going to have all the atomic tasks, because we need to put them somewhere, they can’t be in the Inbox for all eternity.
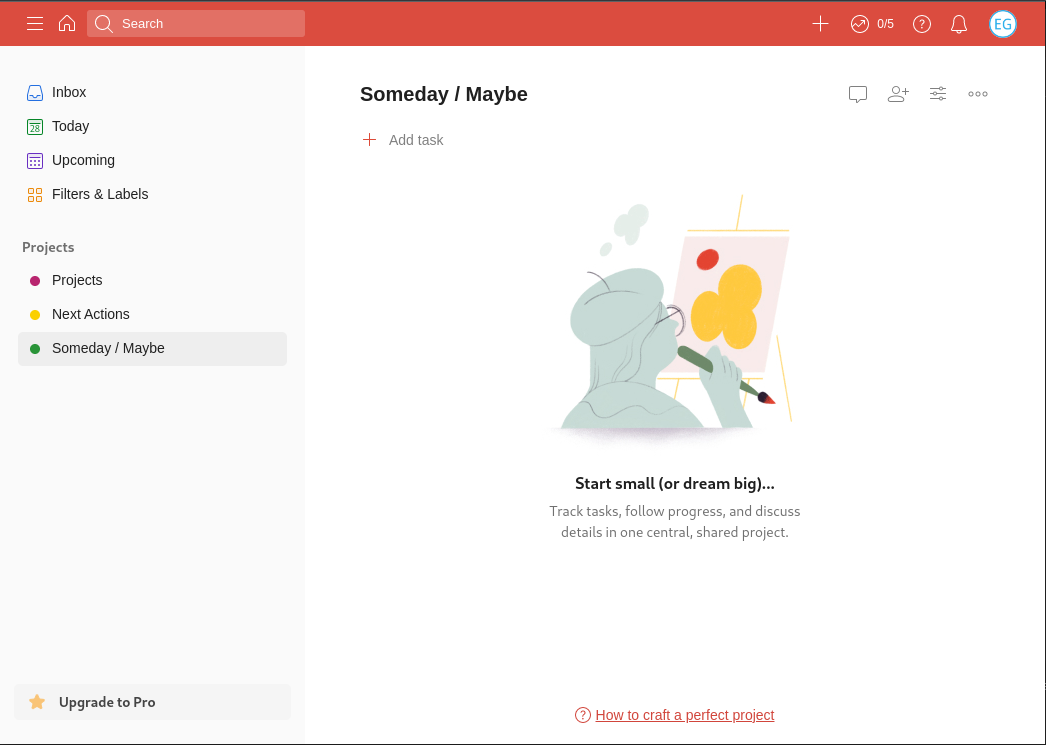
- Someday / Maybe: sometimes we have crazy ideas like going on a cruise, travelling to Japan, or getting married (I am, probably next year ^^). But we don’t have tasks that can be done at that time. So we just let them incubate in this list.
So… those are the three most important Todoist projects you need to create. We even have two left! Some ideas for the other two are:
- Reference: for lists of stuff that are not tasks. Wish lists, guests for the wedding (last time, I promise), etc.
- Shared projects: maybe you have a project shared with your special other or with teammates.
- Horizons of focus: this blog post is better to know more about that.
Now, your Todoist should look like this:
Todoist Projects
Let’s now start talking about the other kind of projects. The GTD ones.
How to create GTD Projects
Now that we have our Todoist projects set up, let’s continue with the GTD projects. Let’s remember that for GTD a project is every objective that needs more than one action to be achieved. So for the creation of a project we will need to create a task inside the “Projects” Todoist project and for the actions, we will have to create sub-tasks of that task created. As seen in Todoist:
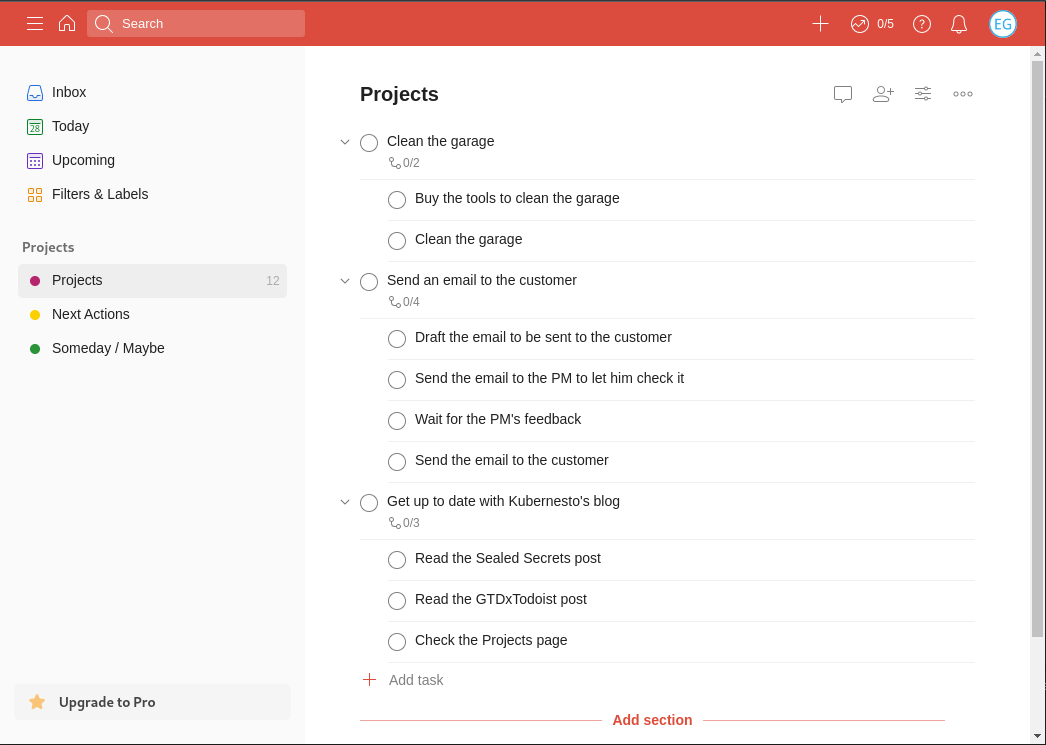
GTD Projects
Now we have the GTD projects with some actions. But in GTD, actions have contexts, that could be where the action will need to take place, what device we need to do it, and others. Let’s explain how to manage that.
How to use Todoist Labels as GTD Contexts
The solution for having the GTD Contexts in the Todoist free account is to have labels for each context. Contexts are very personal and you can have as many as you want (but not too many, please). This is a list of usual contexts:
- Agendas: things that need other people to be resolved
- Computer
- Home
- Errands
- Work
- Leisure
- Read/Review
So let’s create a label for each of them by clicking on “Filters & Labels”, and “Add new label”:
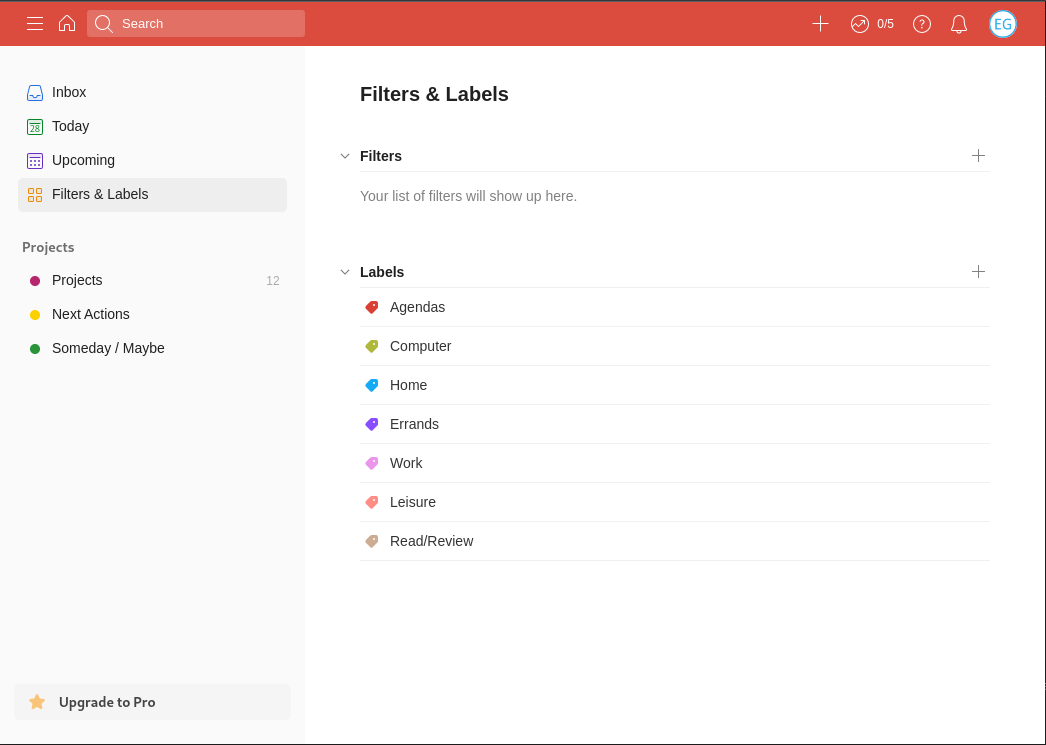
Labels in Todoist
Now, let’s add those labels to their corresponding Next Actions inside the Projects.
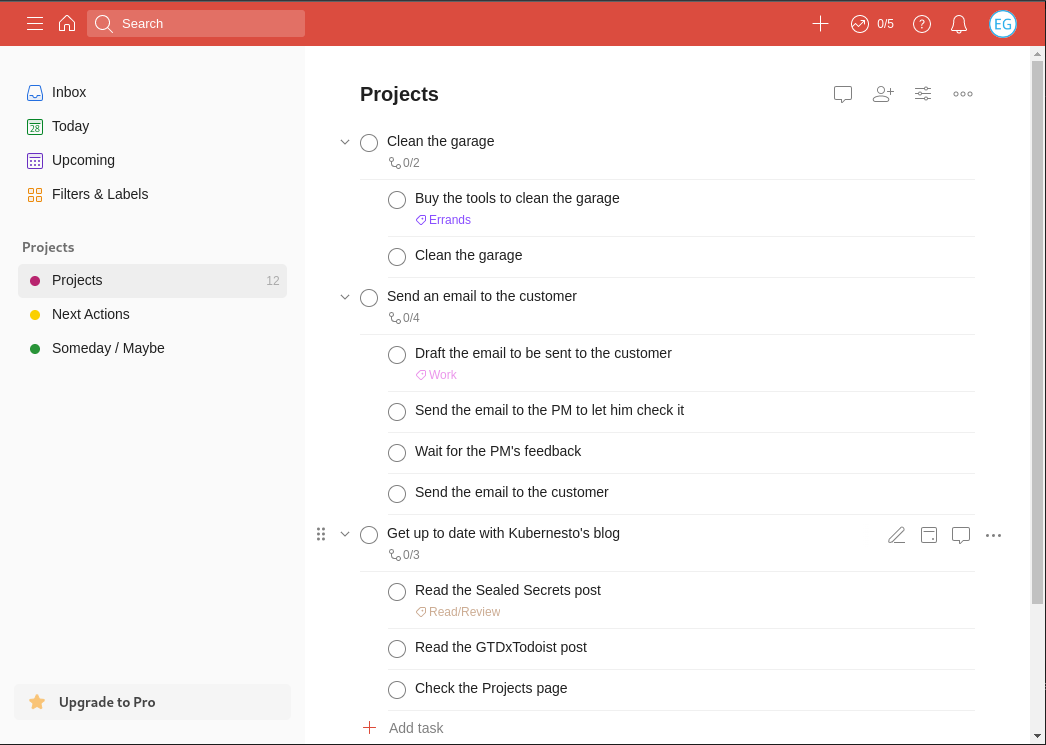
Next Actions with Contexts
Now we see the labels in the Next Actions, but the idea of GTD is to decide the action to take by the context and not the projects. As you can see in the previous picture, for doing that you will have to click on “Filters & Labels” and select the one you need. But this is not very useful, so let’s make turn our labels into favourites so we can see them on the first page of Todoist.
For that, click on “Filters & Labels”, hover your labels and click on the Heart icon. Now all of them will be in your sidebar.
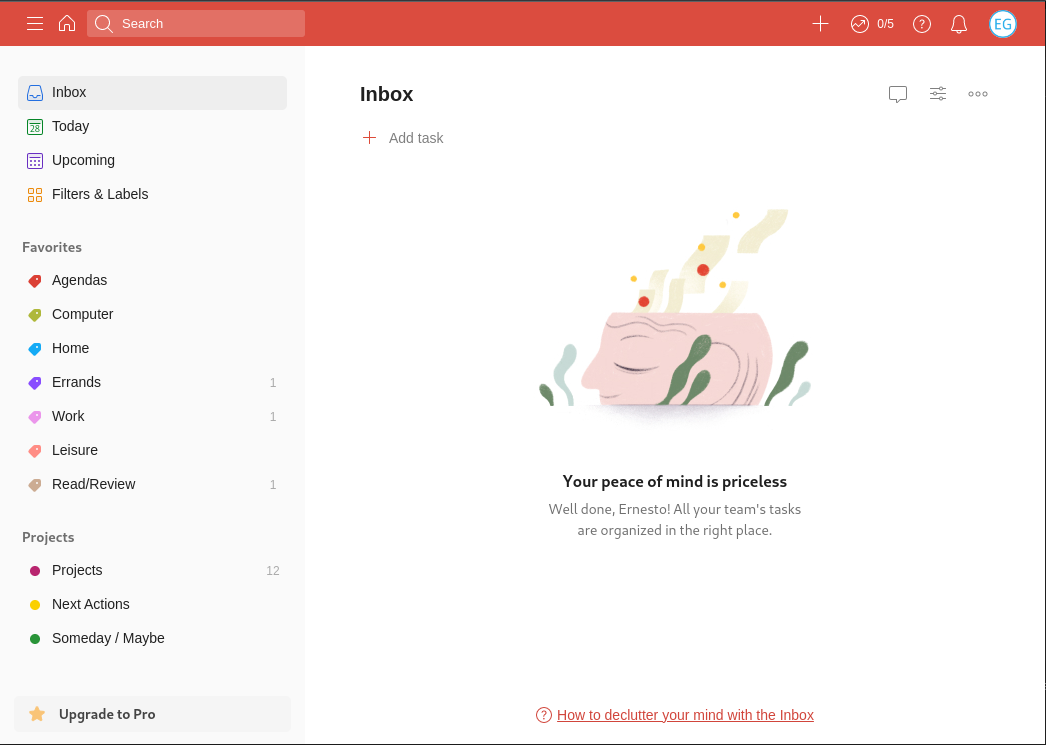
Labels as Favourites
Conclusion
With all these steps, now you have your Todoist free account already set up for using GTD. It is time to capture some items in your Inbox and start clarifying, organizing and processing. The objectives that can be done in a single action belong to the “Next Actions” Todoist project, and remember that they need a label so you can see them when you want to Engage.
Todoist let you put several labels on a task but I don’t recommend you to do that at least at the beginning. If you have actions that can be done on a computer or a mobile phone, don’t put those two labels, maybe create another one called “Digital”. It is easier at first and removes complexity. Also, don’t create many contexts. Start with just a few, experiment, and then keep adding and deleting when you are in need. But you will find that GTD Contexts are not a thing that you change much.
I hope this post helps all of you starting with GTD. Remember that the tool is not the most important thing, but the system. Tools are only there to help us!